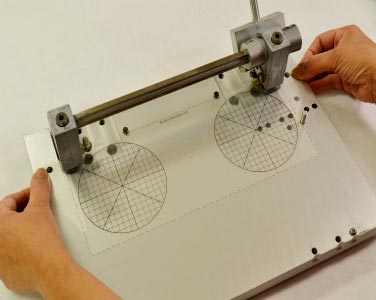
 1 ) The RegiPunch tool shown features an image alignment Mylar template for the plate size. We have similar templates for every Printex plate size. The following steps will illustrate and describe the proper use of this tool.
Please note that there are two image areas on the plate. These areas are represented by the circles denoting the ink cup position and diameter for a given plate size. Artwork has to fi t inside these circles.
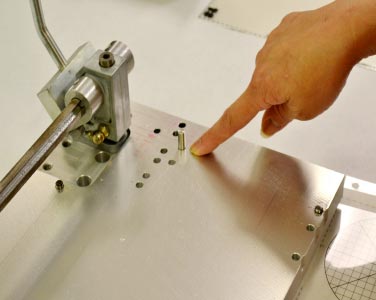 2 ) There are two fixed-position registration pins on the long side of the tool
under the handle-tiebar, and a third adjustable pin shown which can be
moved to accommodate various plate sizes.
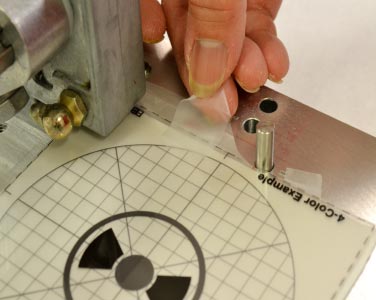
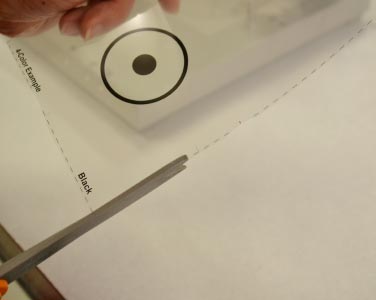 3 ) After placing the artwork file into the corresponding Printex plate digital template as output film positive emulsion side-down. This film will show the image as set in the template, the plate outline shown in broken lines, and cross-hair registration lines in both artwork locations.
The adjacent photo shows the artwork film being trimmed.
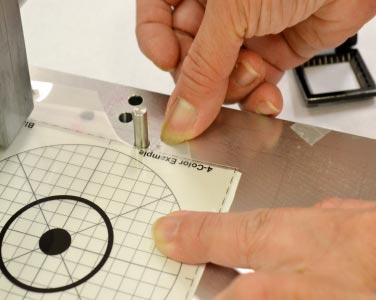 4 ) Using the template and registration pins, the first film is lined up. Make sure
the outline of the plate is touching all the registration pins. This ensures the
image is square on the plate.
After the first film is lined up, please make sure you tape it down to the
base to prevent any film movement.
If you are processing a single color plate, advance to step 7.
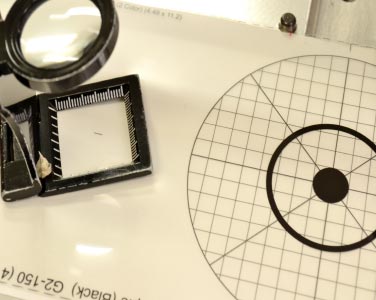 5 ) After aligning and securing the first artwork film, the next film is aligned
to the previous one using the registration cross-hairs as shown on the
adjacent photo under the loop.
After successfully aligning this film, please secure it’s position by taping it
down to the previous film.
 6 ) When you have completed artwork alignment for every artwork film
corresponding to the job, you should end up with the films properly
registered to each other and taped down as shown.
This is critical for the proper artwork registration and plate function for the
job.
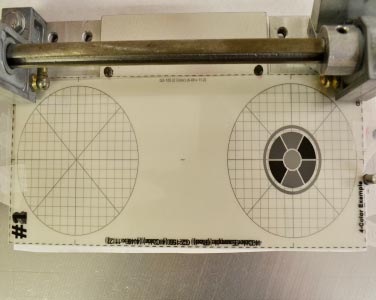 7 ) The job should look like the adjacent photo with all the art films ready
for punching.
The next step is to punch the two holes which allow the film to be located
precisely on each plate.
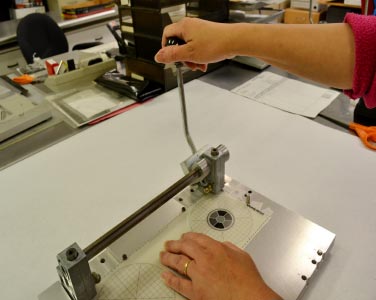 8 ) Using the built-in punches, punch the two holes simultaneously on all
the pre-aligned films as shown on the adjacent photo.
Please make sure all films remain registered to each other after punching
the holes. This can be verified by inspecting the cross-hair registration lines
used for alignment.
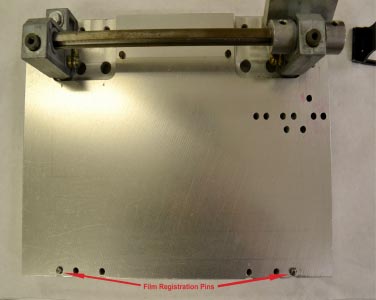 9 ) After punching the two alignment holes on the films, we are ready to
process plates. The adjacent photo shows the two pins located on the front
edge of the Registration-Punch tool.
These pins are used to position plate and film.
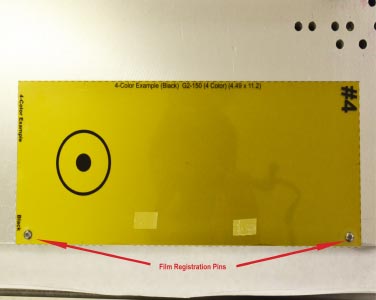 10 ) The adjacent photo shows the plate and film postioned by the holes
punched on plates and film.
This is a critical part of the zero-adjust system resulting in short set-ups and
quick change overs.
