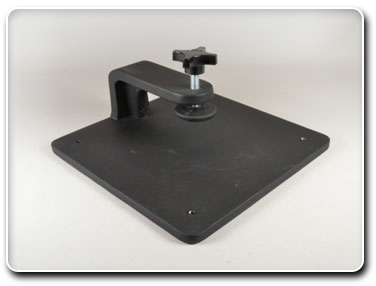
 TOOL USE INSTRUCTIONS
A sleeve proportional to the size of the cup is used to allow the safe ring removal from the cup.
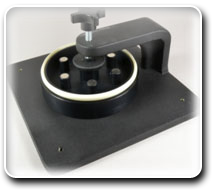
Please make sure that you have the proper sleeve. The sleeve will allow the cup body to slip inside the sleeve but will support the ring all the way around and hold it safely after the ring disengages from the cup body.
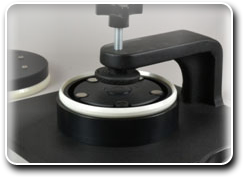
Once the cup is in the sleeve, position these under the threaded post and turn clockwise. The round-end will make contact with the cups center bushing. Continue turning the handle. The pressure applied will cause the cup to disengage from the ring, and drop to the bottom of the sleeve. The ring will be supported and stay at the top of the sleeve.
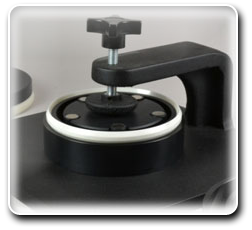
Once the ring is free, carefully turn the threaded post counter clockwise to release the cup. Remove the cup and ring from the sleeve. Proceed to clean both parts removing the old oring from the cup.
Once both cup and ring are clean, place the spare new oring on the cup where the old oring was positioned. Use soapy water to wet the oring and make pressing the ring easier
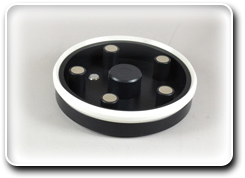
Make sure the ring is pressing evenly all the way around the cup as shown above. It is critical that the ring is evenly positioned all the way around the cup. Place cup on top of a safe flat surface such as a wood top bench with the ring touching the table surface and press on the cup to ensure good contact. The cup is ready for use.
